Cupolas & Weathervanes
Installation Guide
Installation Guide
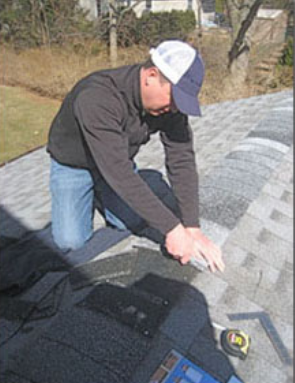
Interested in installing a cupola or weathervane on your roof by yourself? Watch our videos, where we’ve explained in detail how to get the job done safely and on time.
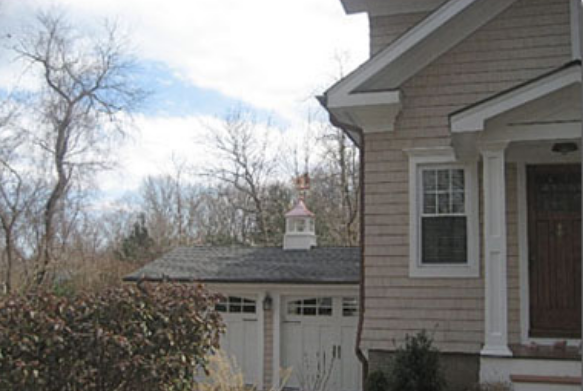
Cupola
Weathervane
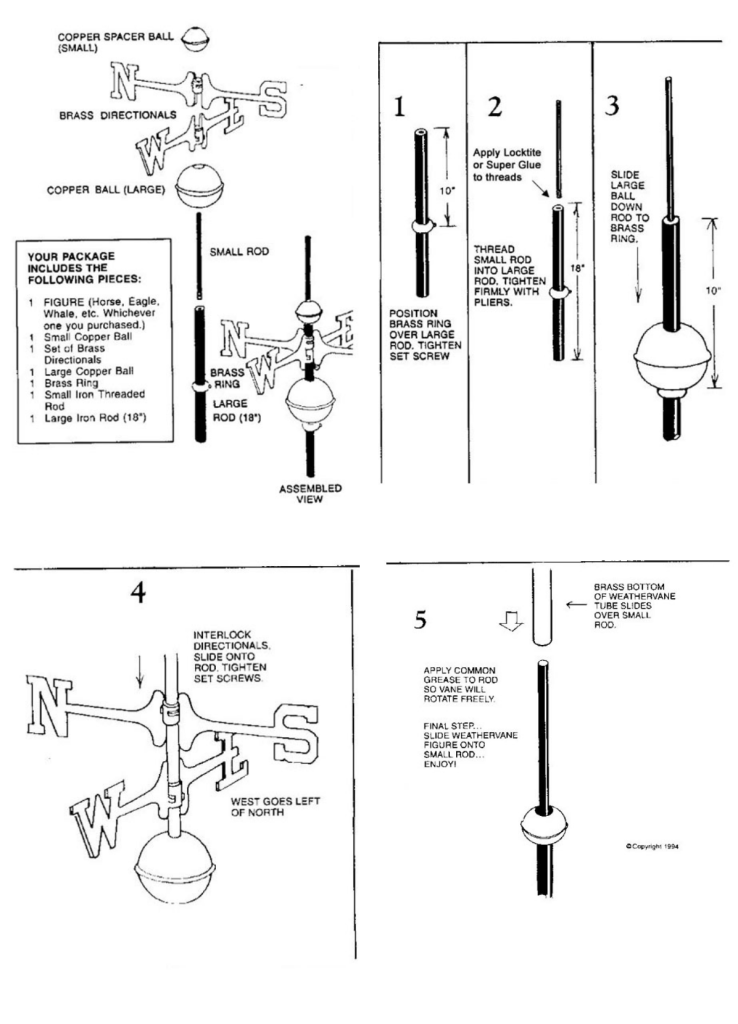
Assembly Instructions Full
Size Weathervane
(Without Retaining Hook)
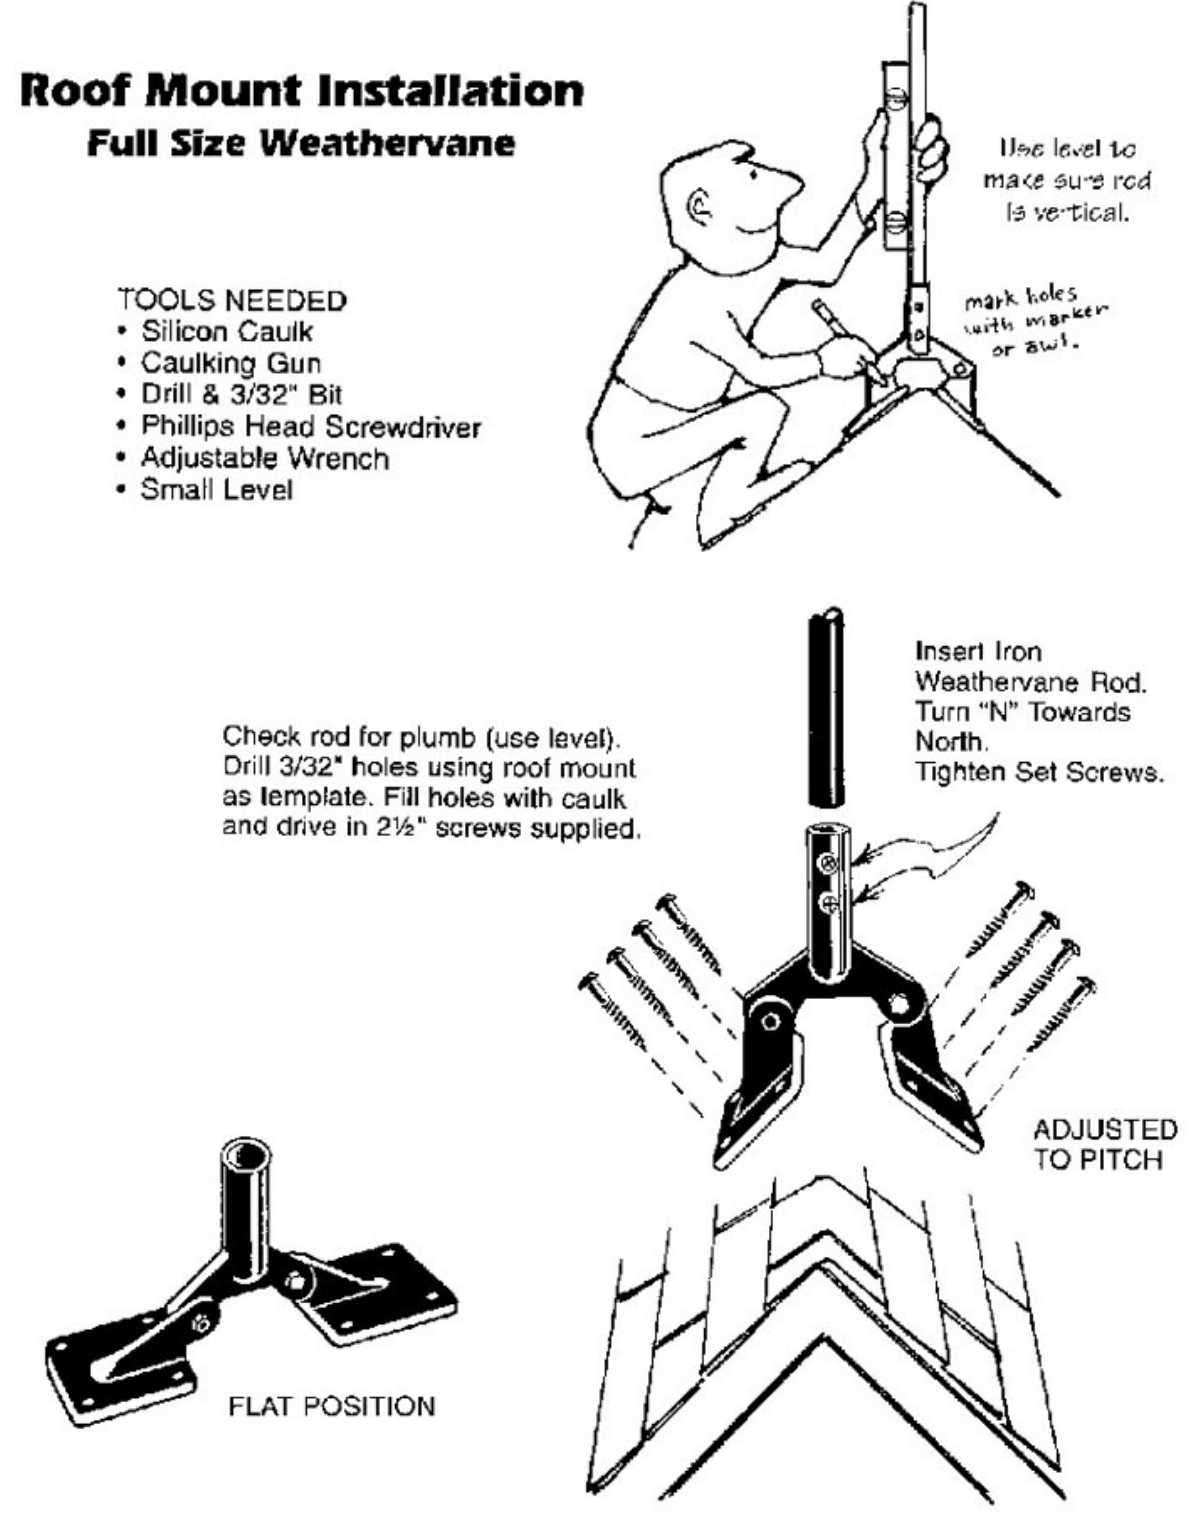
Roofmount Method
- Using mount as a template, position mount in desired location and drill mounting holes. Use a good quality silicone caulk between mount and building. Temporarily insert post in mount and utilize to properly plumb. Use enclosed screws or better and securely fasten to building.
- Using a sharp hacksaw and a vice, trim post so that it extends no more than 16″ above mount (not including spindle). Slide post into mount and secure screws. Caulk where post enters mount.
- Refer to assembly instructions to complete installation.
NOTE: Roof mounts are not included with Weathervanes and must be ordered separately.

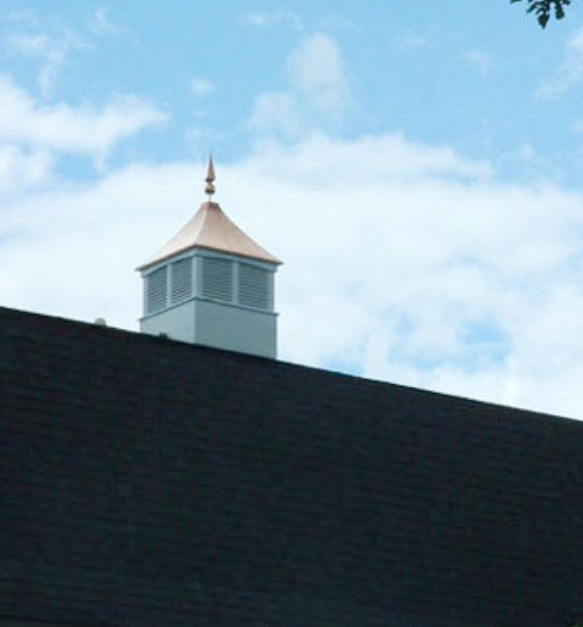
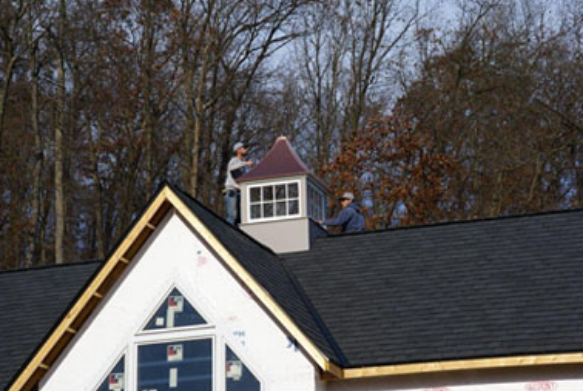
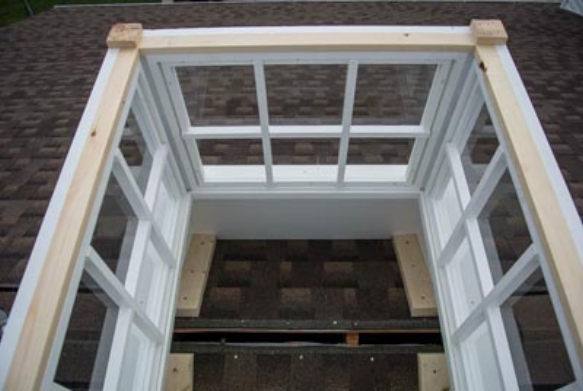
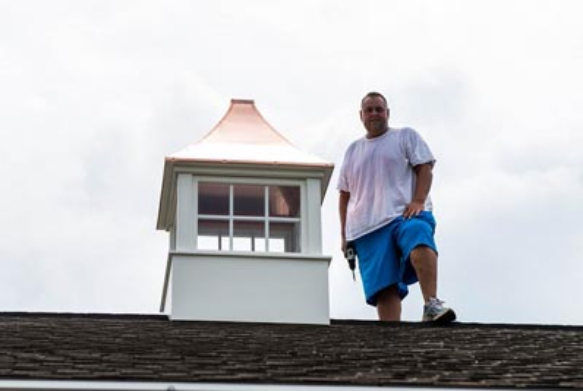
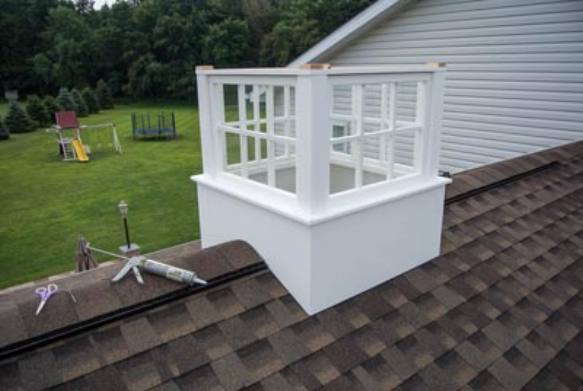
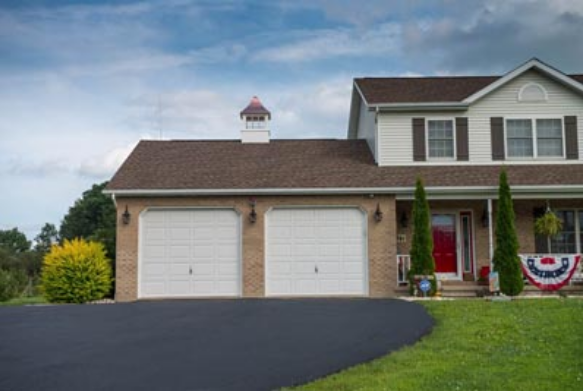
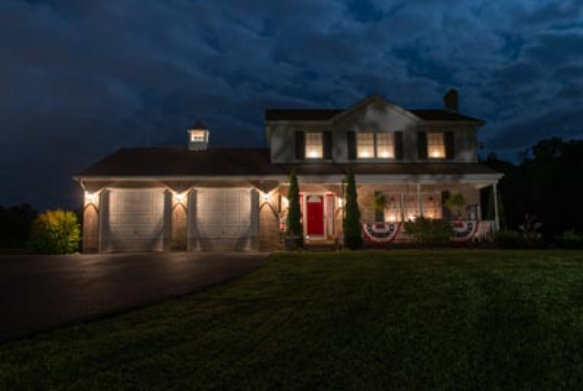
Cupola Installation Guide
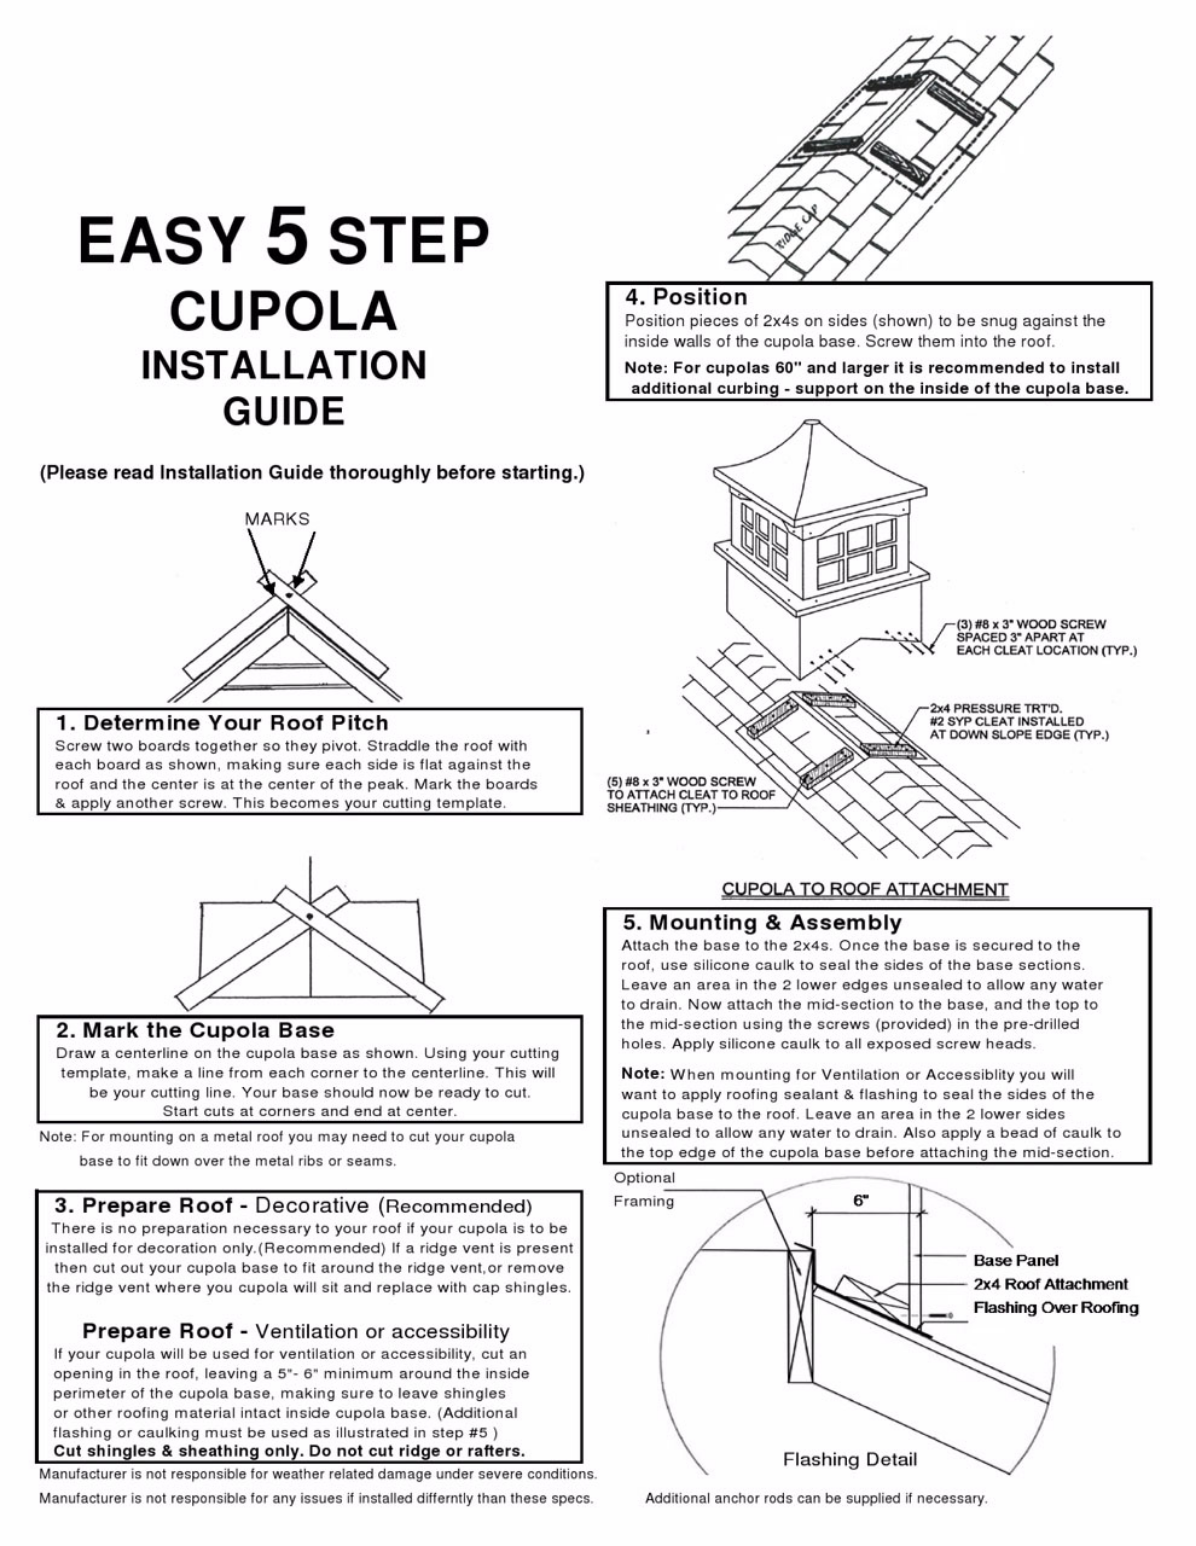
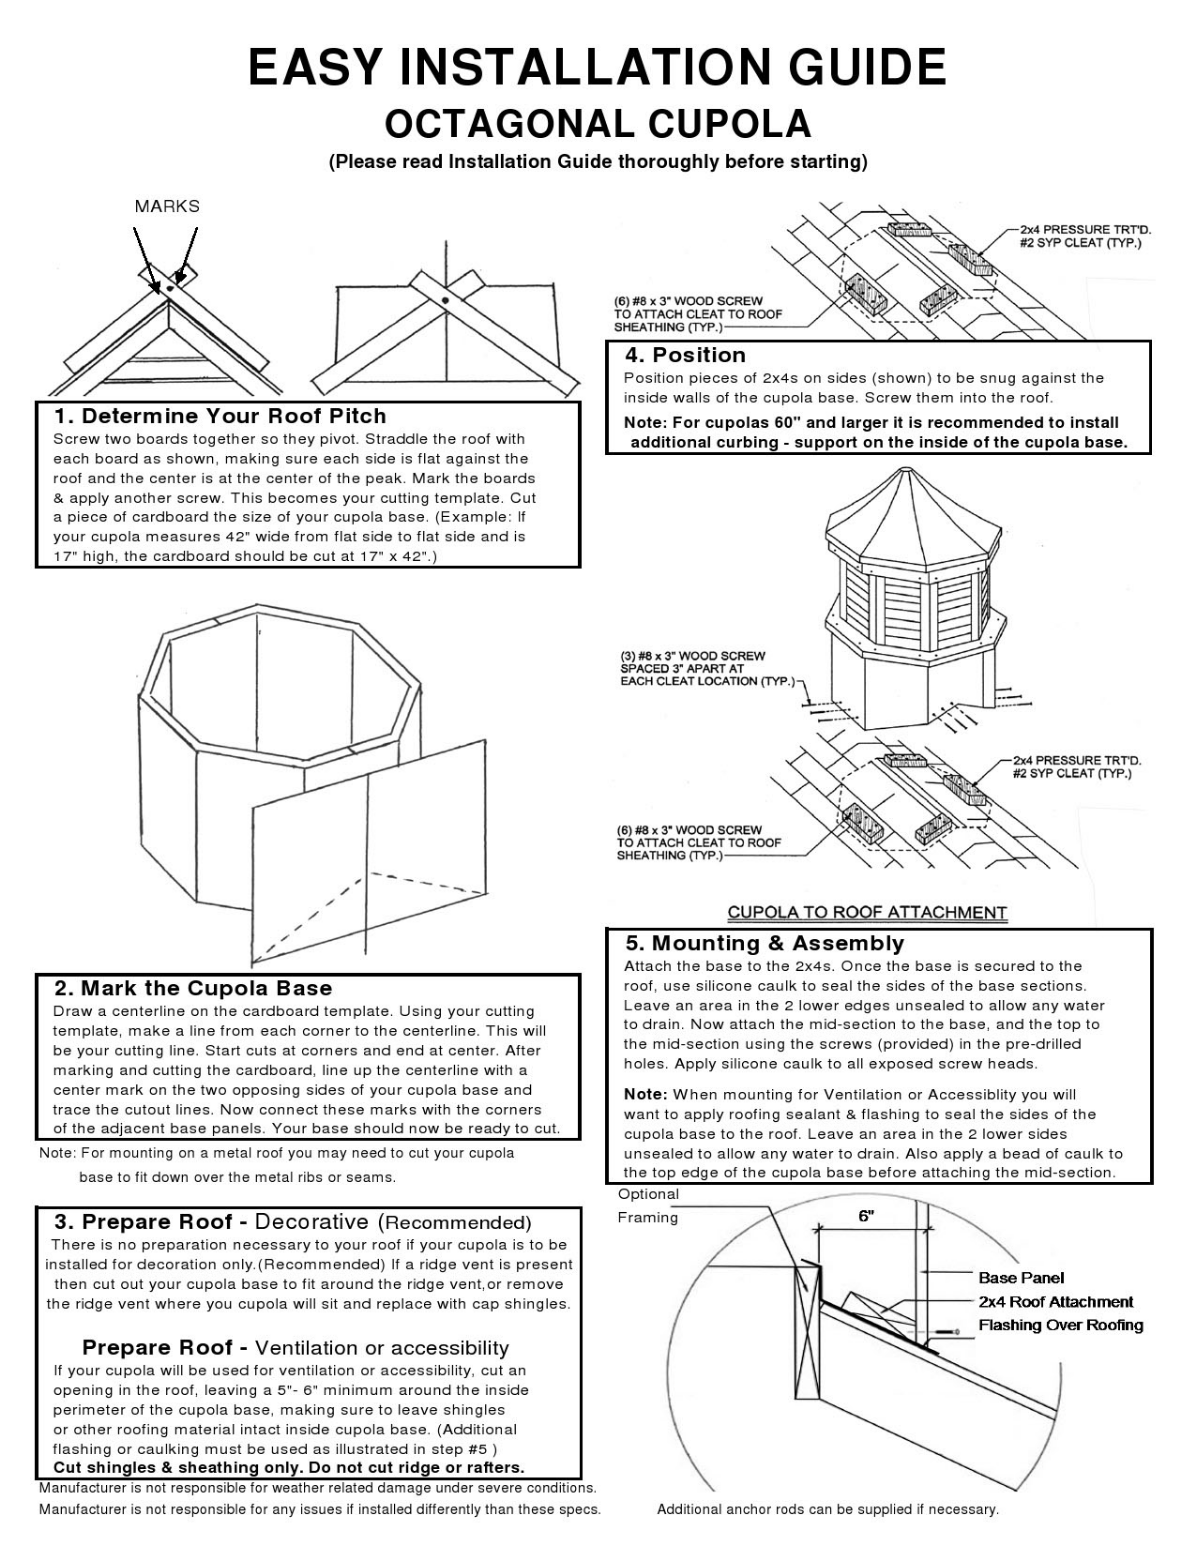
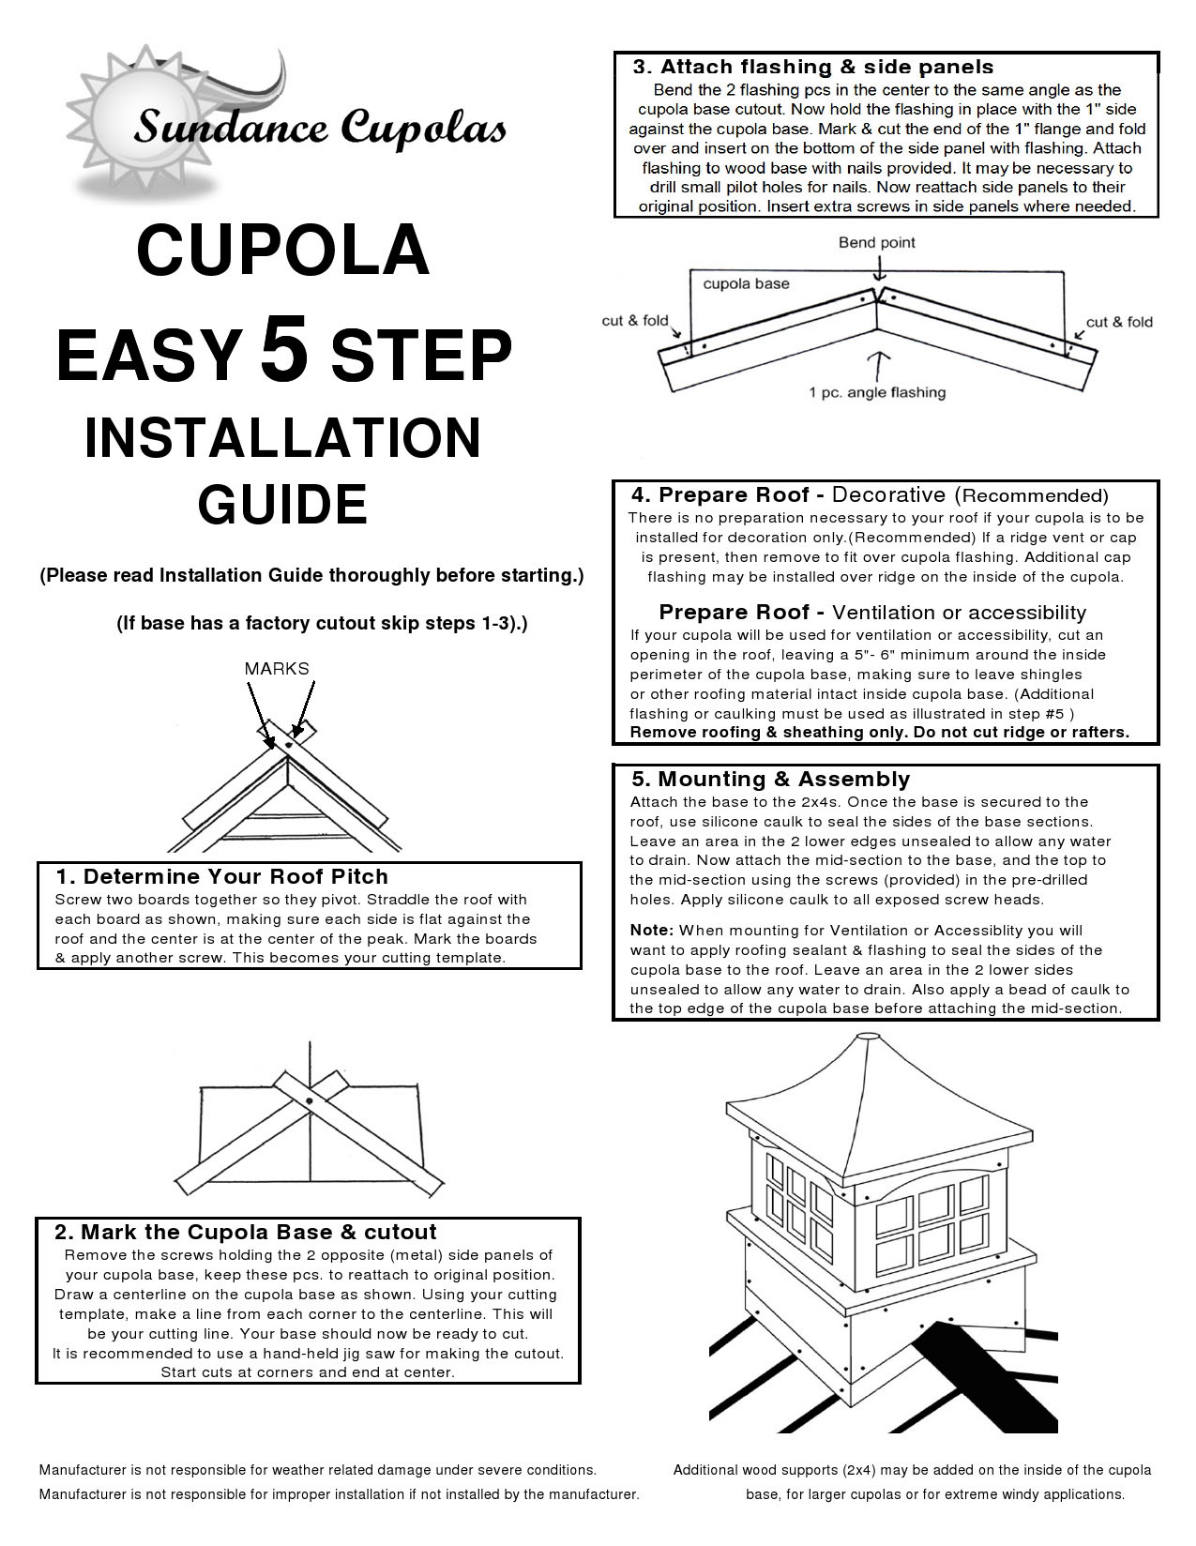
Your cupola will now provide you with maintenance free pleasure and efficient year around ventilation for many years to come.
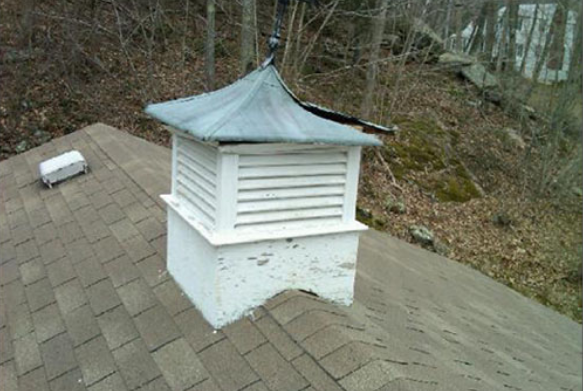
How To Install A Cupola With A Weathervane
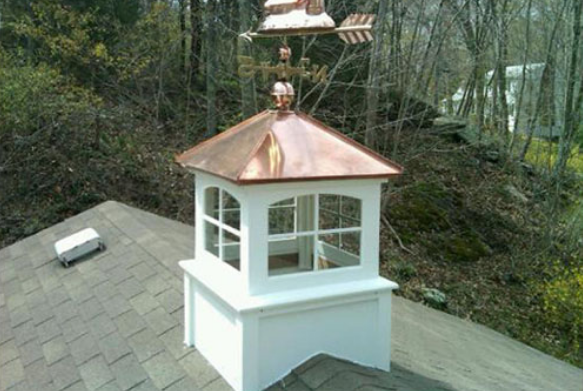
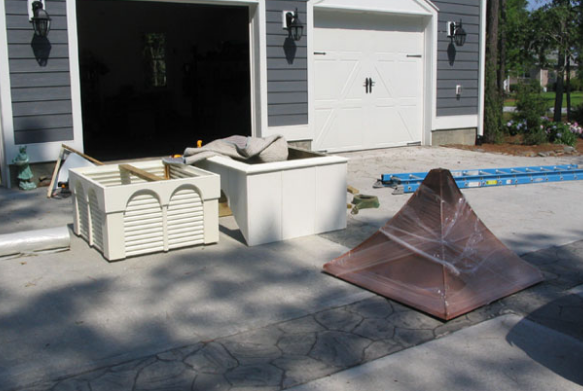
Installation Of Finials And Roofcaps
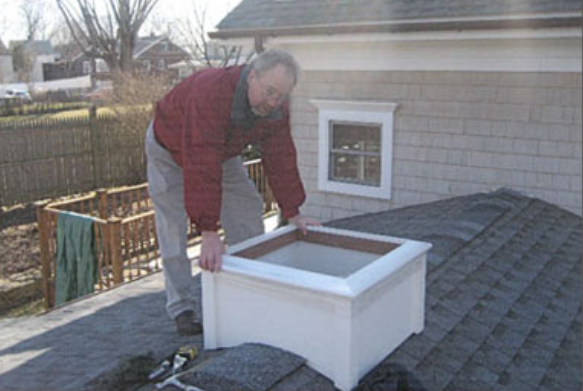
- (Skip to step 3 if installing a roof cap only.) First, determine if it is possible to drill a 3/4″ hole into the peak of your roof for bottom of Finial’s post. This is the best method for anchoring a Finial drill hole UP TO 4″ into peak.
- Trim brass post if necessary. Finial’s large globe should rest on cap’s copper tube.
- Properly seal roof before installing cap. ROOF CAPS SHOULD BE USED FOR ORNAMENTAL PURPOSES ONLY.
- Use PLENTY of ADHESIVE SILICONE CAULKING inside cap around bottom of post, along each bend where solder shows, around nail holes where Finial enters cap and around screw that secures Finial to cap. Place caulk in roof hole also, if applicable.
- Set Finial (Cap) on roof and plumb.
- Using care to assure that points on cap bottom will not get caught, push firmly, but not forcibly, onto roof peak. Secure using roofing nails in holes provided by placing 2 opposite nails. Double-check plumb and finish securing cap to roof.
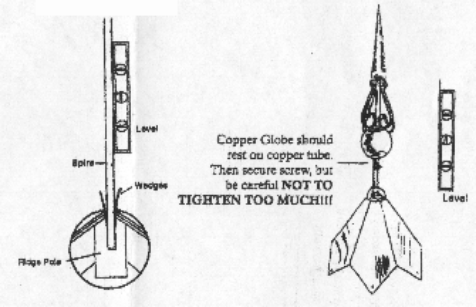
NOTE
- Copper is soft and will bend and dent easily. Use caution when handling!
- This page is intended as a suggestion. Installer may have superior methods for installation.
- For best results, use the best quality ADHESIVE SILICONE CAULKING available; applying liberal amounts throughout installation!!
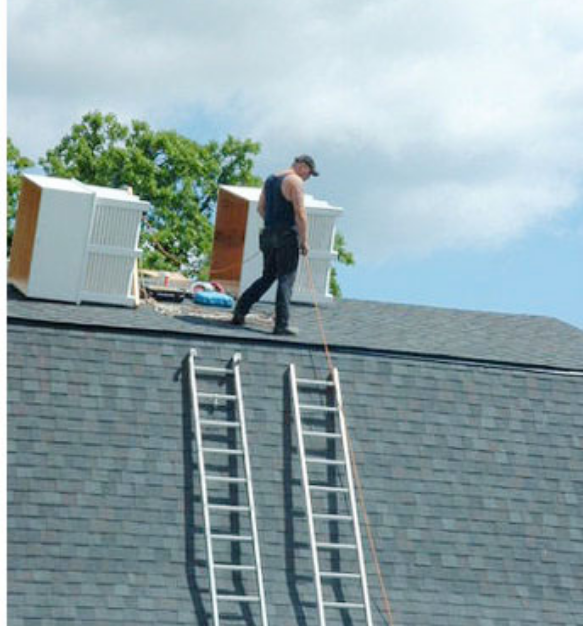
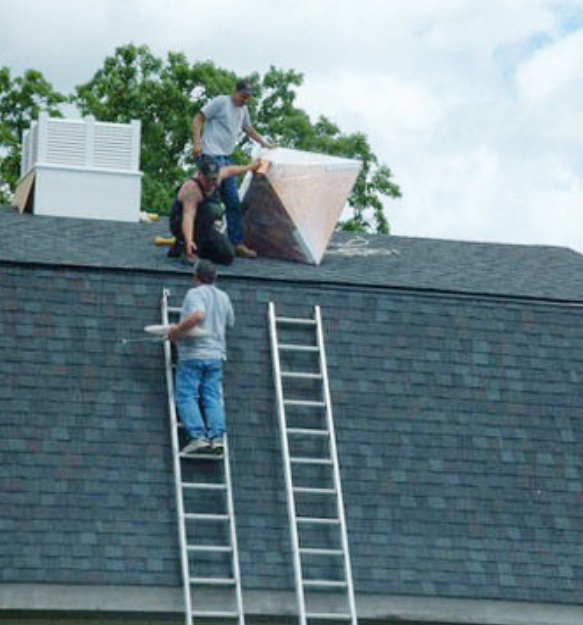
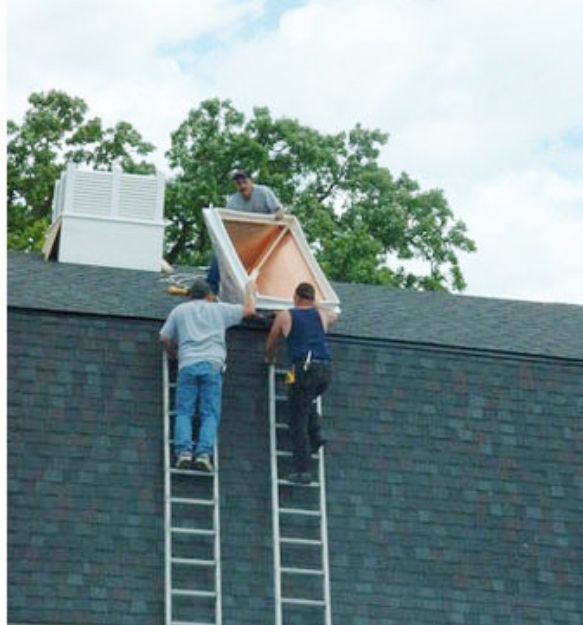
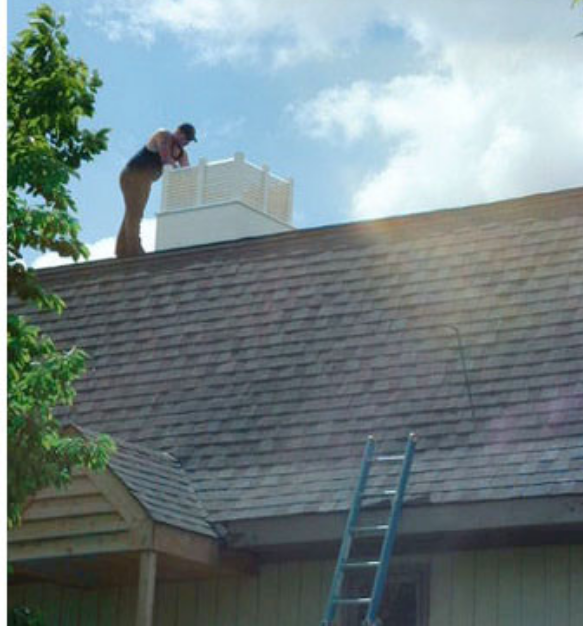
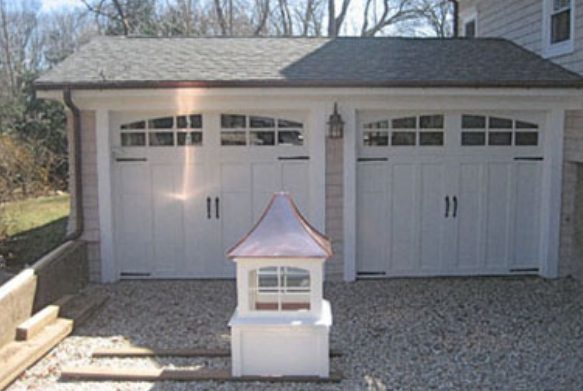
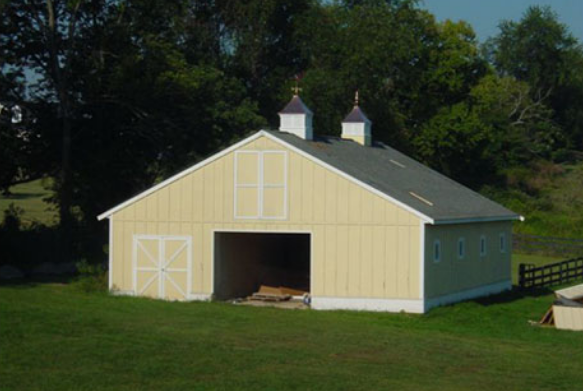
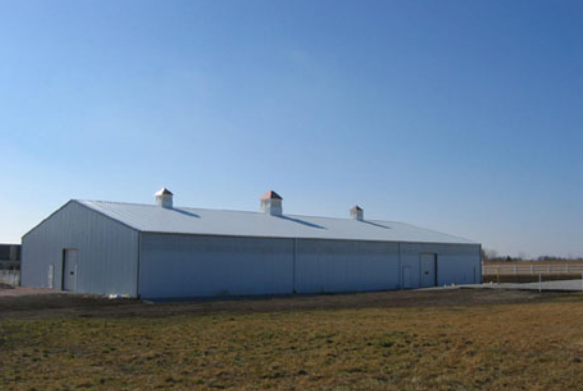
INSTALLATION OF TWO 48" BASE PAGODA CUPOLAS
Image 40
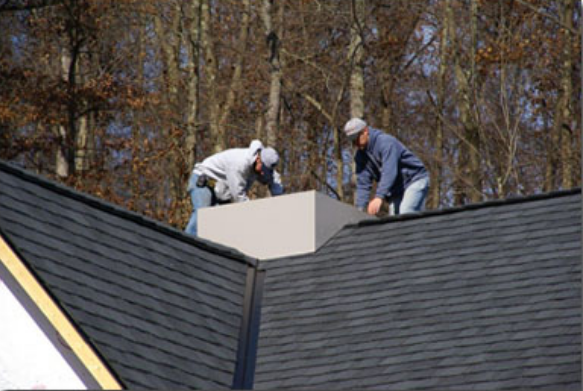
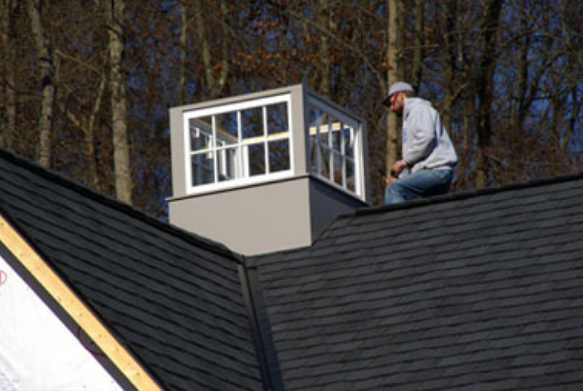
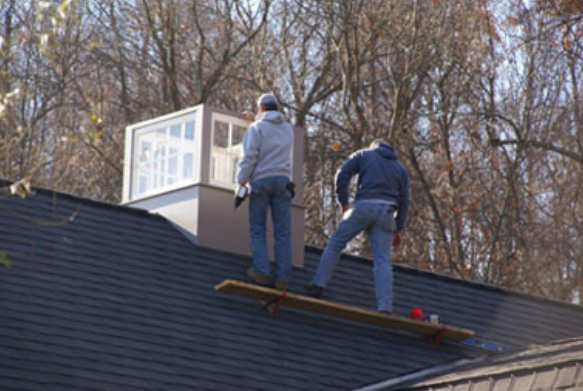
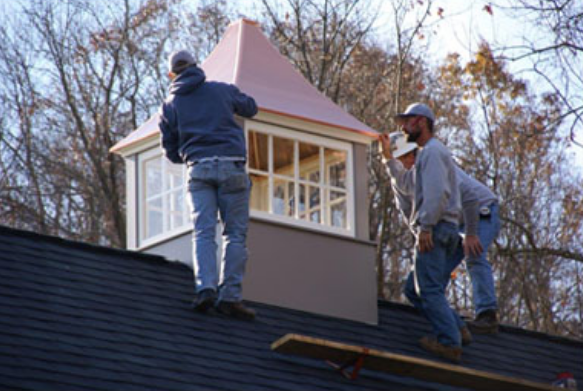
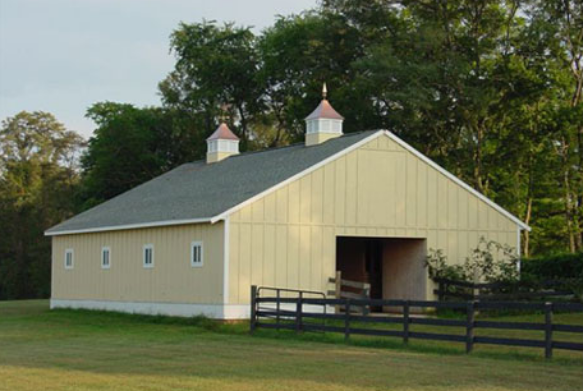
INSTALLATION OF A 28' BASE SAVANNAH
Image 40-A
INSTALLATION OF A 60" PAGODA COLORED VINYL
Image 40-B
36' Carlisle On A 24' Roofline
Image 40-C
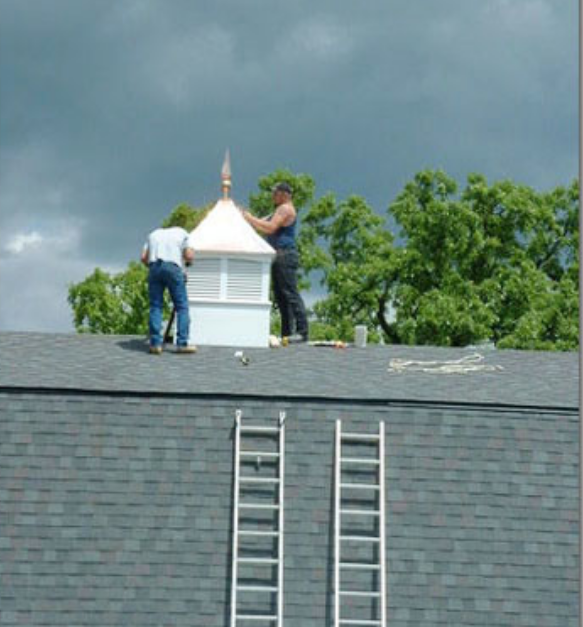
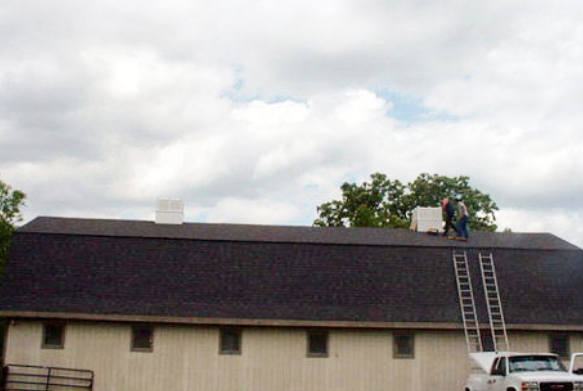
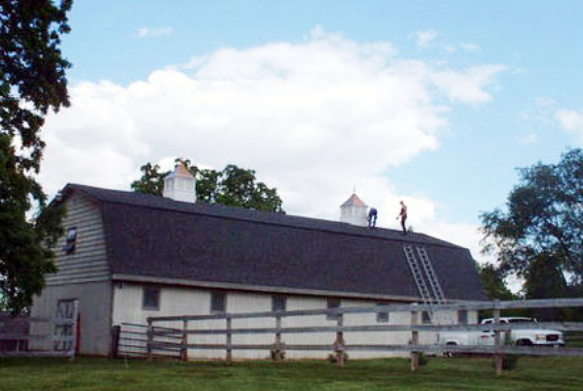
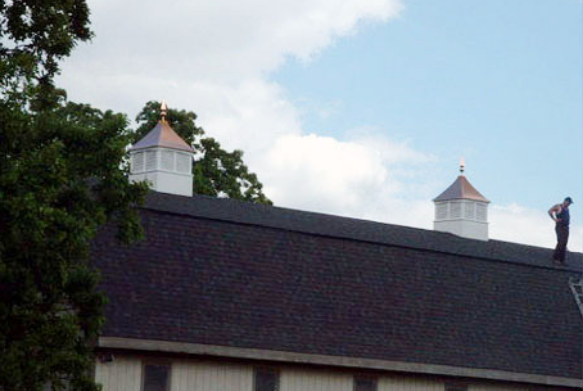
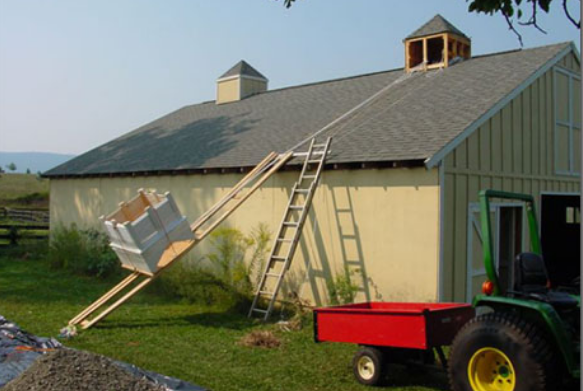
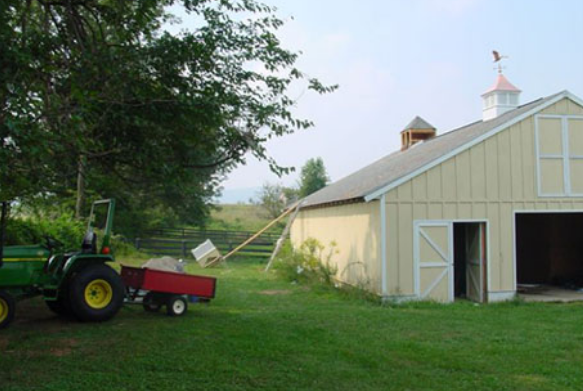
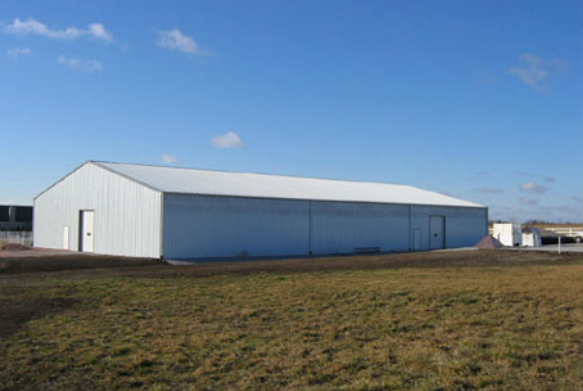
Replacement Of Two 36 Inch Base Pine Pagoda Cupolas On A 48 Ft Barn
Image 41
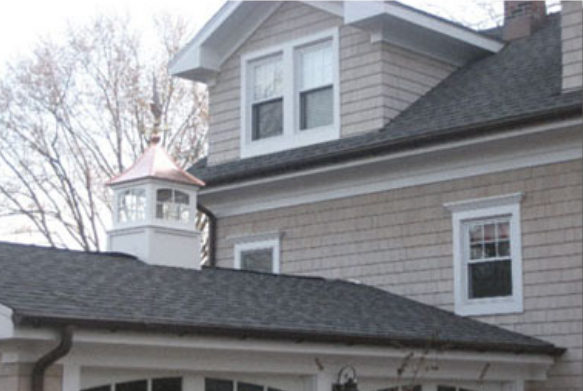
28" Vinyl Boston With A 624P Lighthouse
Image 41-A
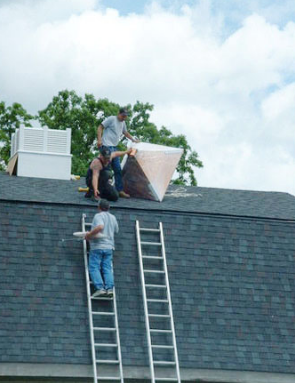
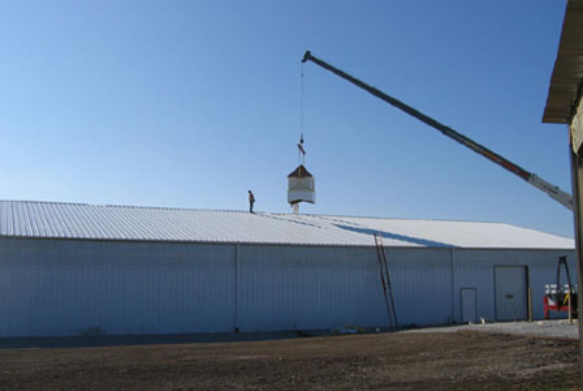
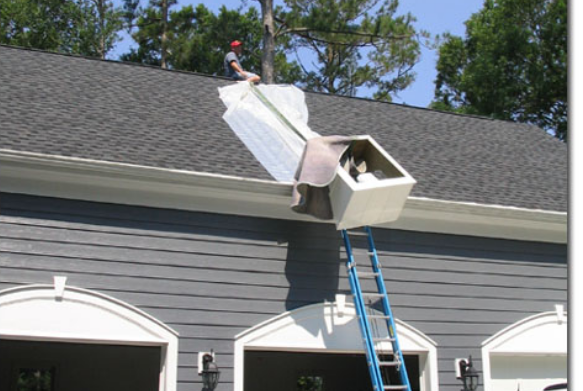
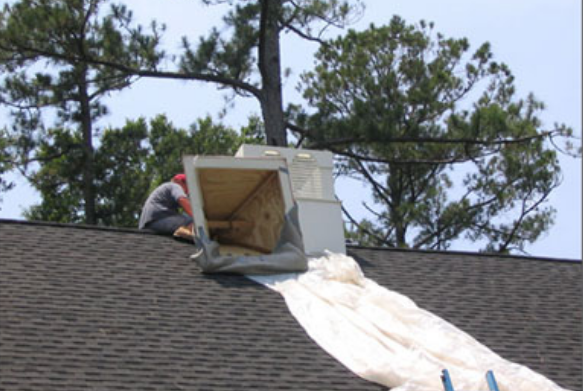
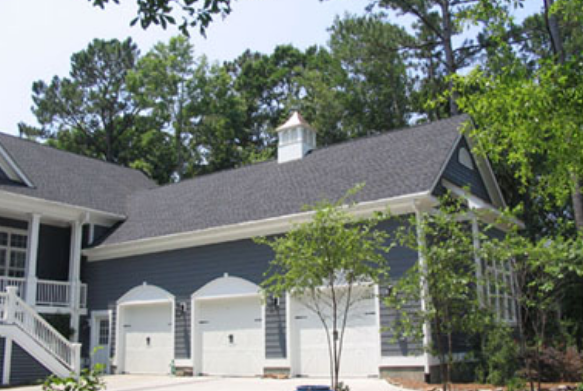
Installing A Large Cupola Using A Crane Installation Of 48"Base And 72"Base Cupolas On A 150' Barn
Inside each cupola is a ‘BREEZA FAN’ model VG36DM 36″ with a direct drive – 1/2hp – 1ph – 825rpm – single phase – TRI-blade. The outside shell of the fan housing is 41-1/8″ which slides snuggly inside the 48″ x 48″ cupola with minimal fastening to be required [about 45 minutes labor].
Image 42
Installation Of A 42' Hartford On A 48' Roof
Image 43
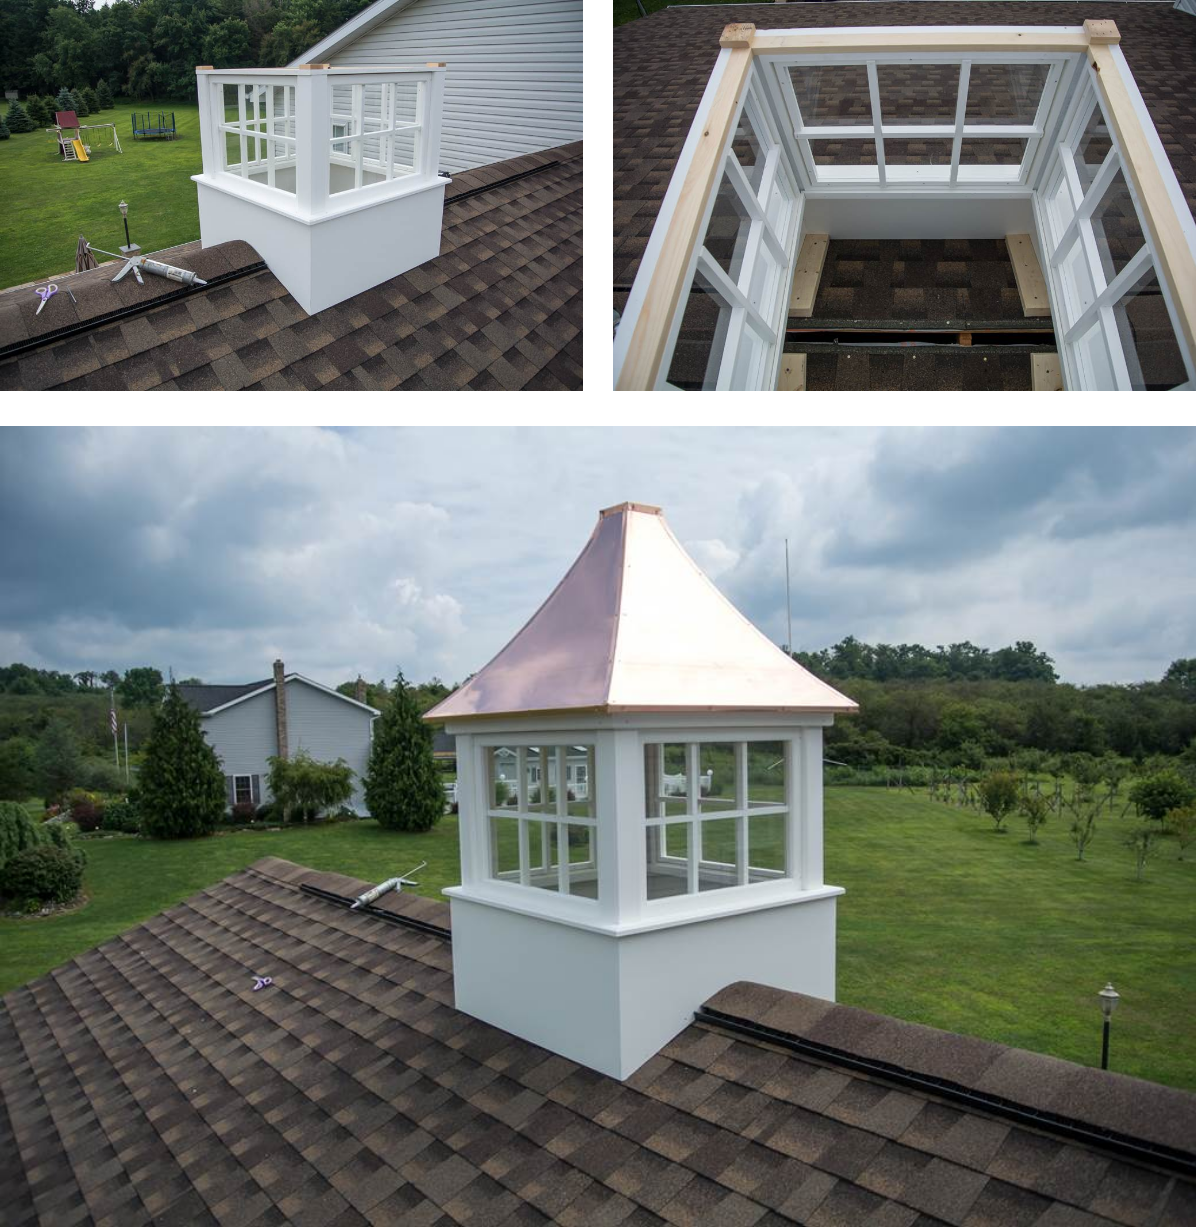
72" Pagoda W/ Windows
Image 44
8 Reasons Why Buyers Choose Us
- Family Owned Since 1976 with 46 years of trusted service.
- Order securely from a professional team member.
- 100% Satisfaction Guaranteed or your money back.
- Largest selection of no maintenance Cupolas and Weathervanes.
- Lowest Prices. We beat all quotes - Guaranteed
- 90 Day No Interest Financing
- Builder and Architectural designs are welcome
